How I built background colour changer using HTML, CSS and vanilla JavaScript.


Hey you all, I am back again, this is a very simple project I built to sharpen my knowledge about events on a web page.
I discovered it was very fascinating and indeed it is!
Let's Begin 🤪.
First and Foremost, what are JavaScript events?
Events are actions or occurrences that happen in the system you are programming — the system will fire a signal of some kind when an event occurs, and also provide a mechanism by which some kind of action can be automatically taken (e.g. some code running) when the event occurs. For example in an airport when the runway is clear for a plane to take off, a signal is communicated to the pilot, and as a result, they commence piloting the plane.

In the case of the Web, events are fired inside the browser window, and tend to be attached to a specific item that resides in it — this might be a single element, set of elements, the HTML document loaded in the current tab, or the entire browser window. There are a lot of different types of events that can occur, for example:
The user clicking the mouse over a certain element or hovering the cursor over a certain element.
- An error occurring
- A Form being Submitted
- The user clicking the mouse over a certain element, or hovering the cursor over a certain element
- The user resizing or closing the browser window
- A video being played, or paused, or finishing play
- A web page finishing loading
And this project is a simple example of the event on the web page
HTML
The HTML consists of the conventional boilerplate with a button element nested inside the body tag.
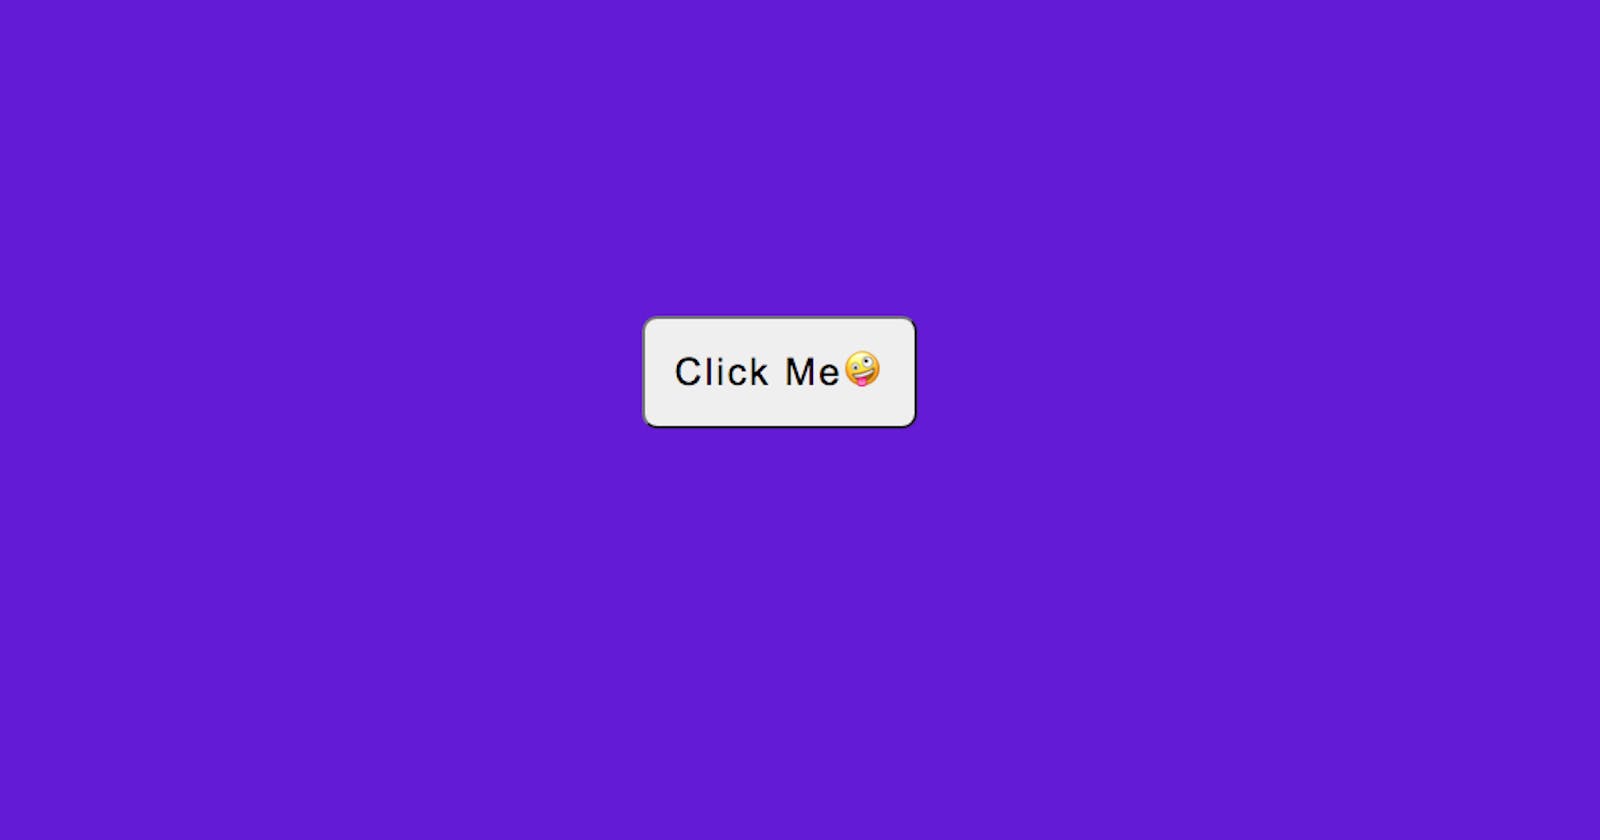
<button>Click Me🤪</button>
CSS
A little bit of styling on my personal preference which I believe the very attractive
button {
      display: block;
      margin: 15rem auto;
      max-width: 100%;
      padding: 1.2rem;
      border-radius: 10px;
      outline: none;
      font-size: 25px;
      letter-spacing: 2px;
    }
    button:hover {
      cursor: pointer;
    }
JavaScript
This is pretty straightforward and comprehensive. firstly, I created a variable called btn to store the reference of the element <button>
const btn = document.querySelector("button)
secondly, I defined a function that returns a random number.
function random(number) {
        return Math.floor(Math.random() * number);
      }
The Third Part of the code is the event handler. The btn variable points to a <button> element and this type of object have a number of events that can fire on it, and therefore, event handlers are available. We are listening for the click event firing, by setting the onclick event handler property to equal an anonymous function containing code that generated a random RGB colour and sets the background colour equal to it.
This code will now be run whenever the click event fires on the <button> element, i.e., whenever a user clicks on it.
btn.addEventListener("click", function (e) {
        let rdColor =
          "rgb(" + random(255) + "," + random(255) + "," + random(255) + ")";
        document.body.style.backgroundColor = rdColor;
      });
*NOTE event handler and event listeners are interchangeable they are pretty the same.
You can find the code and folder on my Github
I hope you liked it! 😍 Comment down your thoughts! There is always room for improvement so let me know your suggestions on this project!
Thanks for reading my article. You can also connect with me on Twitter